How to Add Captions in Kaltura Editor and Edit Them
If you need captions on a Kaltura video, start by deciding which job you are doing: request automatic captions, upload a finished caption file, or edit a track that already exists. The confusing part is that these controls are usually not inside the standard video timeline editor. For most users learning how to add captions in Kaltura editor, the right starting point is the video's page in My Media.
Where do you add captions in Kaltura?
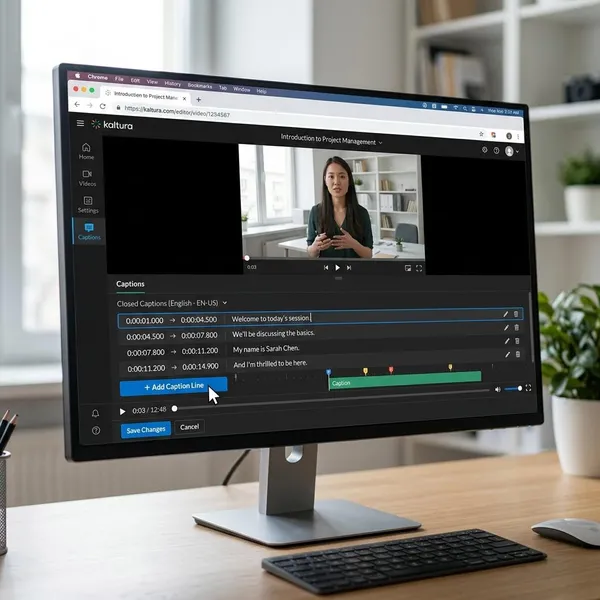
Kaltura caption tools are usually attached to the media item itself. Open the video from My Media, go to its edit or actions area, and look for Reach Captions & Enrich, Captions, or Accessibility. The exact label depends on how your school, company, or LMS administrator has set up Kaltura.
Reach Captions & Enrich for automatic captions
Reach Captions & Enrich is the usual place to request machine-generated captions. It is useful when you have a lecture, training recording, webinar, or imported video and do not already have a caption file.
Check the spoken language before submitting the request. A one-hour English lecture with clear audio may only need light cleanup, but a multilingual presentation or a video full of product names will usually need closer editing afterward.
Accessibility or Captions for uploaded files
If someone has already prepared captions for you, look for the Accessibility or Captions area on the video edit page. This is where Kaltura normally lets you upload and manage caption files.
Uploading is the better route for higher-stakes videos, such as public course content, compliance training, or recordings with medical, legal, or technical language. In those cases, a reviewed file is often safer than relying only on automatic captions.
Captions Editor for caption changes
The Captions Editor is for improving a caption track after it exists. Use it to correct names, acronyms, punctuation, missing words, and timing problems that make captions hard to follow.
How to add automatic captions in Kaltura
Automatic captions are usually the fastest starting point when no caption file exists. They save you from typing everything manually, but they should still be treated as a draft rather than a finished accessibility check.
Open the video in My Media
Go to My Media and open the exact video you want to caption. If you open the video only from a course page or embedded player, you may see playback controls but not the caption management tools.
Choose Reach Captions & Enrich
Open the video's Actions menu and choose Reach Captions & Enrich, Caption & Enrich, or the closest caption request option your system provides.
If the option is missing, do not assume you are in the wrong place immediately. Some institutions turn on automatic captions by default, while others restrict caption requests to instructors, media owners, accessibility teams, or support staff.
Select the language and service
Select the spoken language carefully. This is one of the most important choices because the wrong language setting can make the generated captions nearly unusable.
- Simple classroom recording: machine captions may be a useful draft.
- Public or compliance video: use a reviewed service if your institution offers one.
- Heavy accents, noisy audio, or specialist terms: expect more manual cleanup.
Submit the caption request
Once the settings look right, click Submit. Kaltura processes the captions in the background, so you usually do not need to keep the request page open.
Before moving on, make sure you submitted the request for the correct media item. This sounds obvious, but it is an easy mistake when several versions of the same lecture or webinar sit next to each other in My Media.
Check when processing is complete
Return to the video later and check the Captions or Accessibility area. Processing time can vary, especially for long recordings or busy institutional systems.
If the captions are not visible in the player, check two things first: whether the track has finished processing and whether the correct track is enabled for viewers. A track can exist in Kaltura but still not be the one viewers see.
How to upload captions in Kaltura
Uploading a caption file is best when you already have a prepared track from a captioning service, accessibility office, transcript workflow, or external editor. It gives you more control over wording and timing than starting with a raw machine caption draft.
Open the video edit page
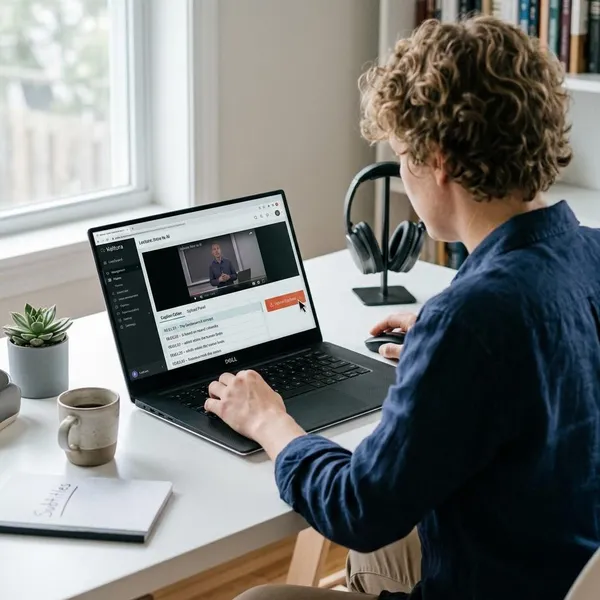
Find the video in My Media and open its edit page, often through a pencil icon or an Actions menu. Caption uploads normally happen from this management view, not from the public player.
Before uploading, confirm that the file belongs to the current version of the video. If the video was trimmed, replaced, or re-exported after the captions were made, the text may be correct while the timing is still wrong.
Open Accessibility or Captions
Open the area labeled Captions, Accessibility, or a similar caption-management tab. You should see any existing tracks and an option to add or upload a new one.
If several tracks already exist, pause before adding another. Duplicate "English" tracks can confuse viewers, especially when one is an automatic draft and one is the reviewed version.
Upload your caption file
Use the upload button to select the caption file from your computer. Kaltura commonly supports SRT and DFXP, and some environments also support VTT; the upload window is usually the safest place to confirm what your setup accepts.
- Check the extension: make sure the file type is accepted before uploading.
- Check the timestamps: play the first, middle, and final sections after upload.
- Check special characters: names, symbols, and non-English text can reveal encoding problems.
Set the language and label
Choose the correct language and give the track a clear label if Kaltura asks for one. A single English track can simply be labeled "English," but multiple tracks need clearer names such as "English Reviewed" or "English Auto Draft."
Save the caption track
Click Save after the file, language, and label are set. Then open the video player, turn captions on, and test more than the first few seconds.
If the uploaded track is the final version, consider hiding or replacing older machine-generated tracks if your permissions allow it. Viewers should not have to guess which caption option is the accurate one.
How to edit captions in Kaltura
Editing is where captions become genuinely useful. Automatic captions may be good enough for a rough internal meeting, but course videos, tutorials, and public-facing recordings usually need at least a quick review for accuracy and timing.
Open the existing caption track
Open the video's caption area and choose the track you want to change. Be careful when there are several language tracks or both automatic and reviewed versions; editing the wrong one wastes time and may leave the visible captions unchanged.
Launch the Captions Editor
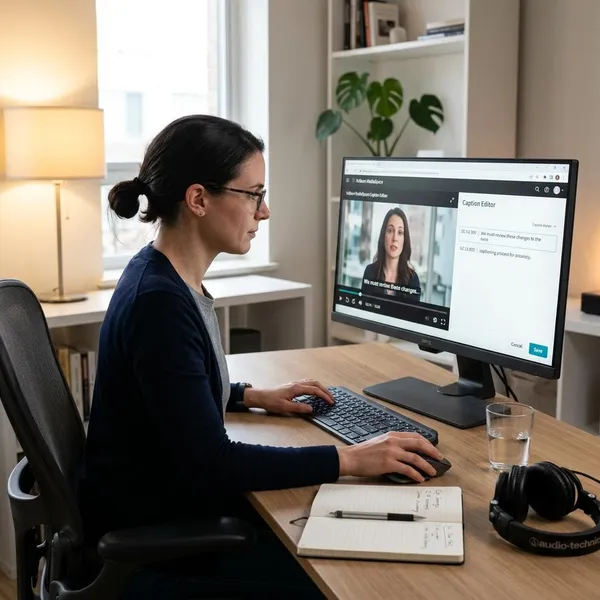
Select the edit option for that track. Depending on your Kaltura version, it may say Edit, Edit Captions, or Launch Editor.
If you cannot launch the editor, the issue may be permissions rather than the caption file. Owners and co-editors often have more caption-editing access than regular viewers or course participants.
Fix the text and timing
Work through the captions while listening to the audio. Start with errors that affect meaning: names, dates, numbers, acronyms, instructions, and missing words.
Timing deserves a separate pass if the video is long. Captions that appear too early, lag behind the speaker, or flash by too quickly can be frustrating even when the text is accurate.
Save your changes
Save before leaving the editor, and save periodically during longer sessions. Browser timeouts, accidental navigation, and LMS login prompts can otherwise wipe out a long editing pass.
Check the captions in playback
Play the video as a viewer and turn captions on. Check the beginning, a busy middle section, and the end rather than only watching the first caption line.
This final playback check is also the best moment to look at the transcript if your Kaltura setup generates one from the caption track. In many environments, caption edits improve the transcript too, but it is worth spot-checking instead of assuming every update displayed correctly.
Conclusion
The safest workflow is simple: use Reach Captions & Enrich when you need a draft, upload a reviewed file when accuracy matters, and always test the final track in playback. If you only have time for one quality check, make sure the right caption track is visible to viewers and that the timing matches the current version of the video.