How Can You Edit Photos in Adobe Express?
If you need quick photo fixes without opening a full editor, the adobe express photo editor is best for cropping, color cleanup, simple background work, and adding text to a finished design. It is a good fit for social posts, school projects, small listings, and casual graphics; it is not the tool I would choose for detailed retouching or heavy Photoshop-style editing.
What can the Adobe Express photo editor do?
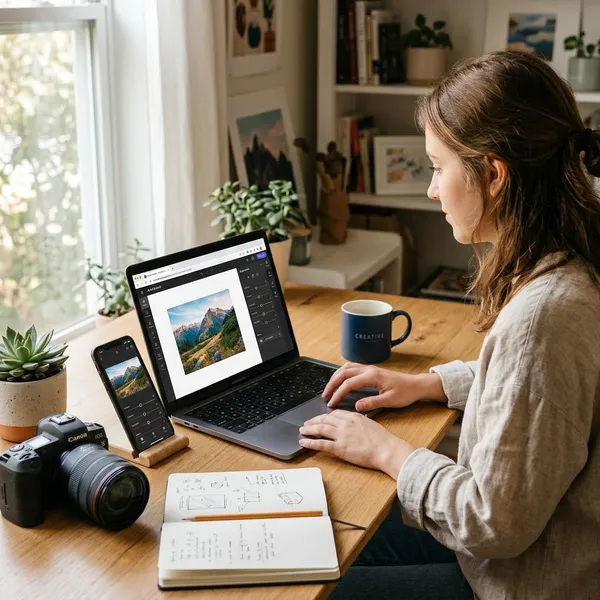
Adobe Express works best when the goal is to make a photo usable fast: straighten it, brighten it, clean up the background, then add a short message or graphic if the image needs to become a post, flyer, invite, or listing image. The main decision is simple: use it for quick editing and design layout, but use a more advanced editor if you need precise masking, skin retouching, layered photo correction, or professional print control.
Crop and straighten photos
Cropping is the first edit to make if the photo feels messy or the subject is too far away. Trim distractions, level tilted horizons, and choose the shape based on where the image will be used: square for many profile or feed posts, vertical for stories and reels, and wider crops for banners or headers.
Be careful not to crop so tightly that the image loses context. A product listing may need a close crop so the item is clear, while a family event photo may look better with a little background left in so the moment still makes sense.
Adjust brightness and color
Brightness, contrast, shadows, highlights, saturation, and warmth are the safest tools for improving a normal phone photo. Start with exposure and shadows if the image is too dark, then adjust color only enough to make the subject look natural.
- Faces look gray or cold: add a small amount of warmth.
- White areas look blown out: reduce highlights before raising brightness.
- Colors look dull: increase saturation gently, not all at once.
- The edit looks obvious: pull the slider back until the photo looks believable again.
Apply filters and effects
Filters are useful when you want several images to share the same mood, such as a set of cafe photos, travel posts, or event graphics. Use them as a finishing touch rather than a repair tool. If a photo is badly exposed, fix the lighting first; a filter usually makes flaws more noticeable, not less.
Remove or replace backgrounds
Background removal is one of the most useful reasons to use Adobe Express. It can turn a cluttered tabletop product photo into a cleaner listing image or help isolate a person for a school poster, profile image, or promotional graphic.
The check that matters most is the edge. Zoom in around hair, hands, sleeves, glass, fur, and curved objects. If the cutout has a halo, missing pieces, or a hard outline that does not match the new background, the result may look unfinished even if it seemed fine at normal size.
Add text and graphics
Add text only when the photo needs to communicate something specific: a date, price, event name, short headline, menu item, or sale message. A busy photo with long text usually looks cluttered, especially on a phone screen.
Is the Adobe Express photo editor free?
Adobe Express has a free plan, and it is often enough for occasional photo edits. If you only need to crop images, adjust color, make simple designs, or prepare a few social posts, start free and upgrade only when you repeatedly hit a limit.
| Use case | Free plan is usually enough when... | Premium is worth checking when... |
|---|---|---|
| Occasional personal edits | You make a few invitations, profile images, or school visuals. | You want specific premium templates, fonts, or stock assets. |
| Small business content | You post now and then and can work around asset limits. | You need consistent branding, more templates, and faster repeat workflows. |
| AI-assisted editing | You only test AI features or use them lightly. | You rely on generative tools often and do not want credit limits to interrupt work. |
How to edit a photo in Adobe Express
The cleanest workflow is to edit in this order: upload the best original, crop and correct the photo, add optional style or background changes, place text only if it helps, then export for the final destination. This order prevents a common mistake: decorating the image before the basic photo actually looks good.

Upload your photo
Use the sharpest version of the image you have, preferably the original from your phone or camera rather than a screenshot or a file that has been sent through several apps. Compressed images leave less room for cropping and can make background removal look rougher.
Crop and adjust the image
Set the crop before adding text or graphics. Once the subject is framed well, adjust brightness, contrast, shadows, highlights, saturation, and warmth in small steps.
A simple product photo may need a centered crop and brighter shadows. A portrait may need softer highlights and a little warmth. A landscape usually benefits more from straightening and gentle contrast than from a heavy filter.
Apply filters or change the background
Use a filter if you want a consistent style across several photos. Change or remove the background if the setting distracts from the subject or if the image needs to look cleaner for a listing, profile, or promo design.
- For social posts: keep the filter light so the image still feels real.
- For product photos: choose a plain background that does not compete with the item.
- For portraits: check hair and shoulder edges before exporting.
Add text if needed
Text should make the image more useful, not just busier. Add a headline, date, label, or short offer only when the viewer needs that information to understand the image.
Download your finished photo
Before downloading, do one slow check at normal size and one zoomed-in check. At normal size, look for balance, readability, and awkward crops. Zoomed in, check cutout edges, pixelation, and small alignment problems.
Choose the export size based on the final use. A website image should not be much larger than needed because it can slow the page down, while a printable flyer needs enough resolution to avoid looking soft. If you are unsure, export a version for sharing and keep a higher-quality copy for later edits.
How to keep your edited photos clear
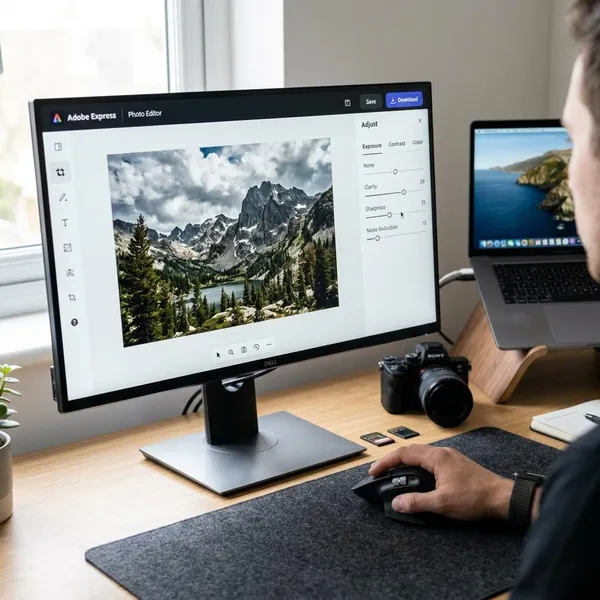
Photo clarity usually comes down to three choices: start with a clean file, avoid pushing edits too far, and export for the place where the image will actually appear. Adobe Express can improve a weak photo, but it cannot fully rebuild detail lost through blur, heavy compression, or an overly tight crop.
Start with a sharp original
A sharp original is the biggest quality advantage you can give yourself. If you have a photo from your camera roll and the same photo saved from a messaging app, use the camera-roll version because it is less likely to be compressed.
Keep color adjustments subtle
Strong edits can make a photo look worse even when every slider technically "improves" something. Over-brightening can flatten faces, too much saturation can make colors look fake, and heavy contrast can hide detail in shadows.
Check edges after background removal
After removing a background, inspect the subject outline before adding text or exporting. Hair, fur, fingers, transparent objects, and loose fabric are the problem areas to check first.
- Halo around the subject: try a simpler background or refine the cutout if the tool allows it.
- Missing edge detail: use a less busy replacement background so flaws are less visible.
- Subject looks pasted on: choose a background with lighting and color that match the original photo.
Match the export size to your needs
Exporting too small can make the image blur when it is enlarged later. Exporting much larger than needed can be wasteful for websites and may still be compressed by the platform where you upload it.
Match the file to the job: a social post needs the right layout for the platform, a website image should balance sharpness with loading speed, and a print piece should keep as much detail as possible. When in doubt, save one high-quality master version and create smaller copies from it.
Conclusion
Adobe Express is a strong choice when you want a photo to look cleaner and become a usable design quickly. Start with framing and light correction, use filters and background tools only where they solve a real problem, and upgrade only if the free plan starts slowing down your normal workflow.