How Do You Customize a Roblox Avatar and Clothes?
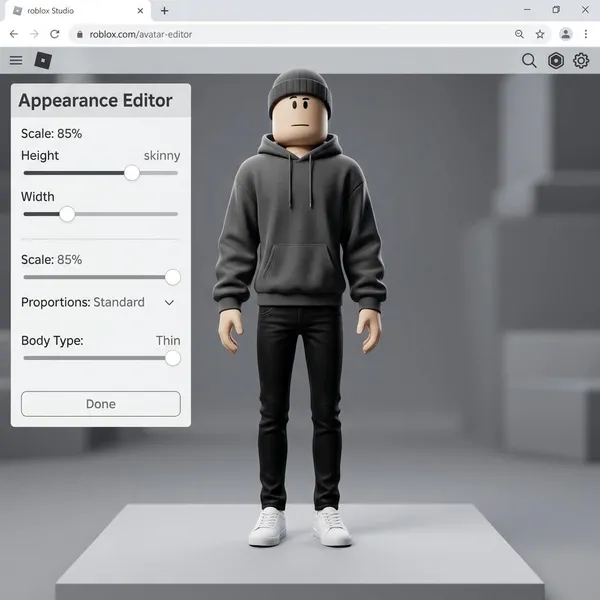
If you want better avatar customization Roblox results, start with the big choices first: body style, clothing theme, colors, and only then the small accessories. You can change plenty of details, but the best avatars usually look planned rather than packed with every cool item you own.
What Can You Customize on a Roblox Avatar?
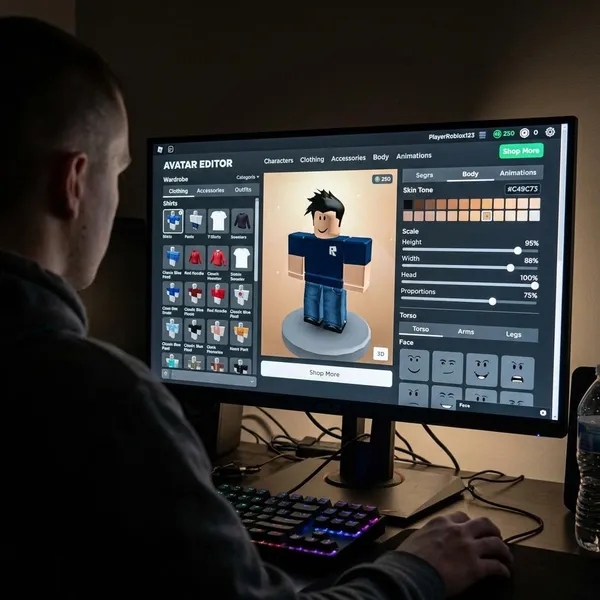
Roblox lets you adjust the parts that shape both appearance and personality: body shape, skin tone, hair, faces, clothing, accessories, animations, and emotes. The practical order matters. Choose the body base first, because it affects how clothes and accessories sit, then build the outfit around one clear style.
Body Shape and Skin Tone
Start with body shape and skin tone before buying or equipping lots of items. A blocky body, a taller stylized bundle, or a slimmer character can make the same shirt, jacket, or accessory look completely different.
If you are making a casual everyday avatar, a simple body style is usually easier to dress cleanly. For a fantasy, monster, or roleplay character, a more dramatic bundle may work better, but check clothing fit early so you do not build the whole outfit around a base that causes clipping.
Hair and Faces
Hair changes the silhouette of the avatar, while the face sets the mood. A soft hairstyle and friendly face can make a basic hoodie feel relaxed; sharp hair and a serious face can push the same outfit toward an action or edgy style.
Check head accessories with the hair before you settle on the look. Hats, horns, headphones, and tall hairstyles often compete for the same space, and a combination that looks fine from the front may clip badly from the side.
Clothes and Accessories
Treat clothes as the main outfit and accessories as the finishing detail. Shirts, pants, jackets, layered clothing, and shoes should already explain the style before you add wings, hats, glasses, backpacks, or shoulder pieces.
- Pick one focal point: a coat, hairstyle, face item, or major accessory.
- Remove items that repeat the same job: two loud head pieces often look messy.
- Watch the back view: backpacks, capes, and wings can make the avatar feel crowded.
Animations and Emotes
Movement can make an avatar feel finished or strangely mismatched. A cute social avatar may suit relaxed idle poses and cheerful emotes, while a dark warrior outfit can feel weaker if the animation style is too playful.
How Do You Customize Your Roblox Avatar?
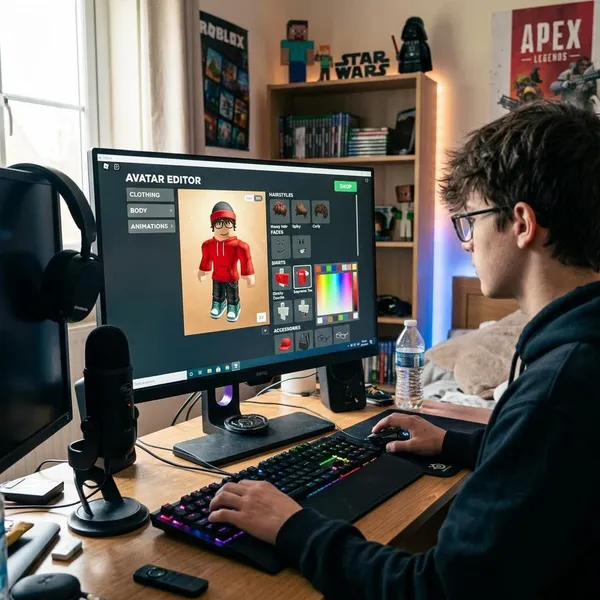
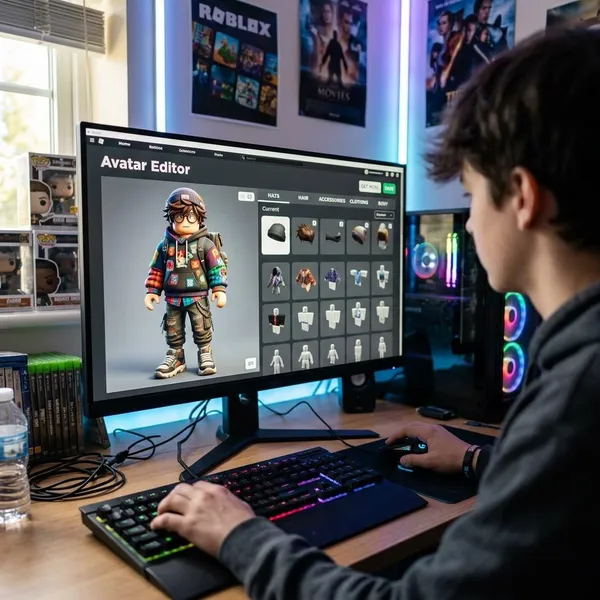
The simplest way is to work from large changes to small ones: open the Avatar Editor, choose a body style, add the main outfit, adjust colors and features, then preview the full avatar. This keeps you from spending time fixing tiny details before the foundation is right.
Open the Avatar Editor
Open the Avatar Editor in the Roblox app or website and look through the main categories: body, clothing, accessories, characters, and animations. If you switch outfits often, learning where each category sits saves more time than randomly tapping through menus.
Choose a Body Style
A body style is not just a background choice. It decides how sleeves, pants, jackets, hair, and accessories line up on the avatar.
Add Clothes and Accessories
Add the largest clothing pieces first, then the smaller details. A jacket, dress, layered top, or wide hairstyle changes the whole silhouette, so it should come before glasses, earrings, shoulder items, or small props.
If the avatar feels busy, remove one item instead of adding another to "fix" it. Most cluttered Roblox outfits have the same problem: too many accessories are fighting to be the main feature.
Change Colors and Features
Color usually decides whether an outfit feels polished. A safe approach is one main color, one supporting color, and one small accent. For example, black and gray with a blue accent feels more controlled than five bright colors spread across every item.
Before replacing an item you like, try changing the hair color, skin tone, or face. A single color mismatch can make a good outfit look random.
Preview Your New Look
Preview the avatar before saving or spending more Robux. Rotate it from the front, side, and back, then check how it looks with the animation style you plan to use.
- Front view: check the main theme and color balance.
- Side view: look for hair, hats, and shoulder items clipping.
- Back view: make sure backpacks, wings, or capes are not overwhelming the outfit.
- Motion: test walking or idle poses when possible, especially with layered clothing.
How Do You Create a Unique Roblox Avatar?
A unique Roblox avatar does not have to use rare or expensive items. It usually comes from a clear theme, controlled colors, good balance, and a few choices that feel specific to the character you want to make.
Choose One Clear Theme
Choose the theme before shopping. "Cyber school outfit," "cozy winter avatar," "spooky cute," or "retro gamer" gives you a filter for what belongs and what does not.
This is especially useful if you are on a small Robux budget. A clear theme helps you ignore trendy items that look good alone but do not match your avatar.
Use Matching Colors
Matching colors can make free or inexpensive items look much better. Repeat the same shade in two or three places, such as hair, shoes, and a small accessory, so the outfit feels connected.
If your avatar looks off but you cannot tell why, check the brightest item first. One neon accessory on an otherwise soft outfit will draw all the attention, even if the item itself is nice.
Balance Clothes and Accessories
Balance means the viewer can understand the avatar quickly. If everything is oversized, glowing, patterned, or layered, nothing stands out.
| Avatar situation | Best choice |
|---|---|
| Simple outfit | Add one stronger accessory, such as a hat, face item, or backpack. |
| Detailed jacket or layered clothing | Use fewer accessories so the clothing remains visible. |
| Roleplay or themed character | Keep items that support the story and remove random extras. |
| Everyday gaming avatar | Prioritize a clean shape that reads well while moving. |
Mix Free and Paid Items
Free items are useful for testing a look before spending Robux. Build the rough outfit first, then decide whether one paid hairstyle, jacket, face, or accessory would genuinely improve it.
Check the Look From Every Angle
Roblox avatars are seen in 3D, so the front view is not enough. This matters most for social games, screenshots, and videos, where other players may notice the side and back of your avatar as much as the front.
How Do You Make Custom Roblox Clothes?
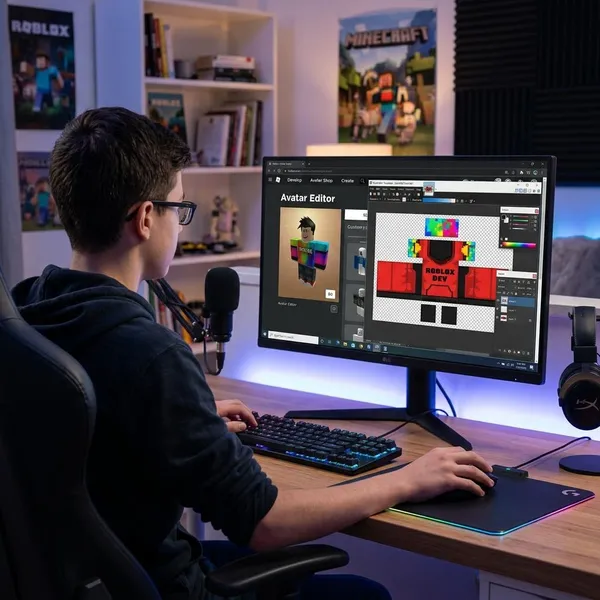
To make custom Roblox clothes, use the correct template, design on top of it, export the image cleanly, test it on a character, then upload it through Roblox if your account and the current rules allow it. The main challenge is not drawing the clothing; it is making the flat image wrap properly around the avatar.
Download the Right Template
Download the current Roblox clothing template for the item type you want to make. The template shows where the torso, arms, front, back, and sides will appear once the image wraps around the character.
Create Your Design
Design with the avatar shape in mind, not just the flat image. Center zippers, buttons, logos, and pockets carefully, and avoid placing important details directly on seams unless you have tested how they wrap.
For a first design, a simple hoodie, jacket, school shirt, or basic pants style is easier than a complex costume. Clear shapes and moderate contrast usually look better in-game than tiny details that blur once the avatar moves.
Export the Image
Export the finished design in a Roblox-friendly image format, commonly PNG. Before exporting, check symmetry, text direction, sleeve alignment, and the edges of each template section.
Save an editable master file as well as the exported file. If testing shows a crooked stripe or misplaced pocket, you can fix the original instead of rebuilding the clothing from scratch.
Test It in Roblox Studio
Testing in Roblox Studio helps you catch problems that are hard to see on the template. Stripes may not line up, graphics can stretch, and details near seams may land in awkward places.
Upload It to Roblox
Upload the tested file through the relevant Roblox creator or clothing area. The exact steps and requirements can change, so check Roblox's current rules before planning a large batch of designs.
Use a clear item name and review the preview before submitting. Also make sure the design is original and appropriate for the platform; a clean-looking file can still be rejected if it breaks Roblox rules.
Wear or Publish the Item
After upload, you can wear the item yourself if it is available on your account. Publishing or selling depends on Roblox's current marketplace requirements, so confirm those rules before treating clothing design as a shop project.
If you do publish, quality matters more than quantity. A small set of matching shirts and pants usually looks more trustworthy than many rushed uploads with uneven thumbnails, names, and styles.
Conclusion
A strong Roblox avatar starts with the base, not the accessories. Pick a body style that fits your goal, build around one theme, use colors on purpose, and preview the result before spending more Robux or uploading clothes. Custom clothing is worth trying when catalog items cannot match your idea, but testing the fit is what separates a usable design from one that only looked good in the editor.