Is Affinity Photo the Right Editor for Your Workflow?
If you are comparing the affinity photo photo editor with Photoshop, Lightroom, or simpler phone-style editors, the main question is whether you need deep control or just quick improvements. Affinity is best when you want RAW editing, layers, masks, retouching, and advanced merge tools without building your whole workflow around a subscription. It is less ideal if your biggest need is managing a huge photo library rather than editing individual images carefully.
Key Affinity photo editing features
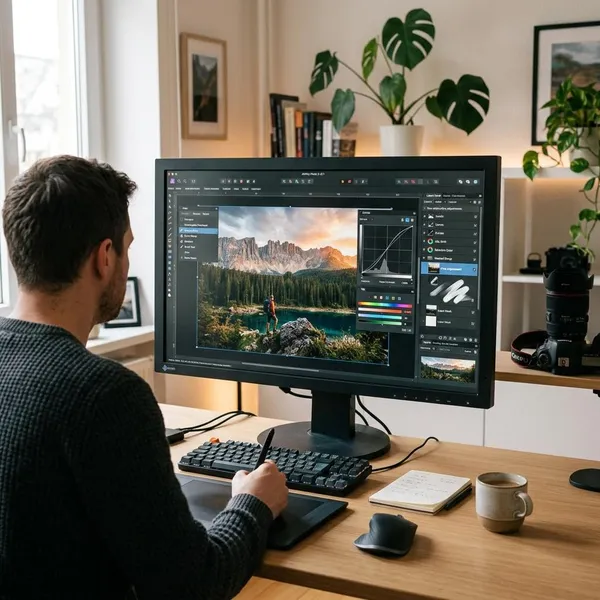
Affinity Photo is strongest when an image needs more than a one-click filter. The first things to check are simple: do you need RAW control, local edits, clean retouching, or layered design work? If the answer is yes, Affinity gives you far more room than a basic editor.
RAW development and lens correction
RAW development is where you fix the file before making it look styled. Exposure, white balance, shadows, highlights, and lens issues are easier to correct here than after the image has been heavily edited.
Layers, masks, and blend modes
Layers are the reason Affinity feels closer to Photoshop than to a simple photo app. You can keep cleanup, color work, text, textures, and effects separate instead of burning every change into the same image.
- Masks: apply an edit only where it helps, such as brightening a face without lifting the whole background.
- Blend modes: mix layers for contrast, texture, double exposure, and composite effects.
- Opacity: reduce an edit when it looks too strong instead of deleting it completely.
Live filters and adjustment layers
Live filters and adjustment layers are the safer way to sharpen, blur, change color, adjust contrast, or reduce noise. They stay editable, so you can come back later and soften the effect if it looks too heavy on another screen.
Retouching and object removal
Affinity includes the practical cleanup tools most photo editors look for: healing, cloning, patching, blemish removal, and inpainting. These are useful for dust spots, small background distractions, product marks, and light portrait cleanup.
HDR, focus merge, and photo stacking
HDR and focus merge are helpful when one shot cannot capture enough information. HDR can combine bracketed exposures for scenes with bright windows or strong sunset contrast, while focus merge can blend several focus points for macro or product photos.
This is not something every casual editor needs. But if you shoot interiors, jewelry, flowers, food, or detailed product images, these tools can solve problems that cropping and exposure sliders cannot.
Batch editing and macros
Batch editing and macros are worth using when you repeat the same job many times. Resizing a folder of images, applying a watermark, converting formats, or running a consistent sharpening step should not be done one file at a time.
- Good use: preparing 40 product images for an online listing.
- Good use: resizing blog images to a consistent width.
- Bad use: applying the same strong color look to every photo without checking skin tones or highlights.
How the Affinity photo workflow works
A sensible Affinity workflow starts broad and becomes more specific. Fix the file first, clean distractions next, build the look with layers, then export for the place where the image will actually be used.
Develop the RAW file
Start with the corrections that affect the whole image: white balance, exposure, highlight recovery, shadows, lens distortion, and obvious noise. If these are wrong at the start, later retouching usually becomes harder to judge.
Edit in Pixel Studio
The main pixel-editing workspace is where the image becomes polished. This is the place for removing distractions, painting masks, making selections, cleaning product edges, and building more detailed edits that go beyond RAW sliders.
Build edits with layers and masks
Use layers and masks when the photo needs targeted control. A sky, face, product label, and background often need different treatment, and one global adjustment rarely handles all of them well.
- Check the subject first: the main face, object, or focal point should get priority.
- Then check distractions: bright corners, dust, harsh edges, or messy backgrounds.
- Leave room to revise: keep important changes editable until export.
Add final color and detail
Final color and detail should support the image, not fight for attention. Add sharpening, contrast, HSL changes, curves, or noise reduction only after the main cleanup and local edits are in place.
Web images can often tolerate a little extra crispness, while print files usually need more careful tones and smoother transitions. If you are unsure, export a test version and view it at the size people will actually see.
Export the finished image
Export based on the final use. JPEG is usually the practical choice for websites and sharing, PNG is useful for transparency, and TIFF or layered project files are better when you may need to revise or print later.
Do not flatten and overwrite your only working file. Keep one editable master, then make separate export copies for web, clients, print, or social posts.
What can you edit with Affinity?
Affinity fits a wide range of image work, but it is most valuable when precision matters. If you only brighten phone photos occasionally, it may feel like more tool than you need; if you regularly clean, isolate, blend, or reshape images, it starts to make much more sense.
Portraits and skin retouching
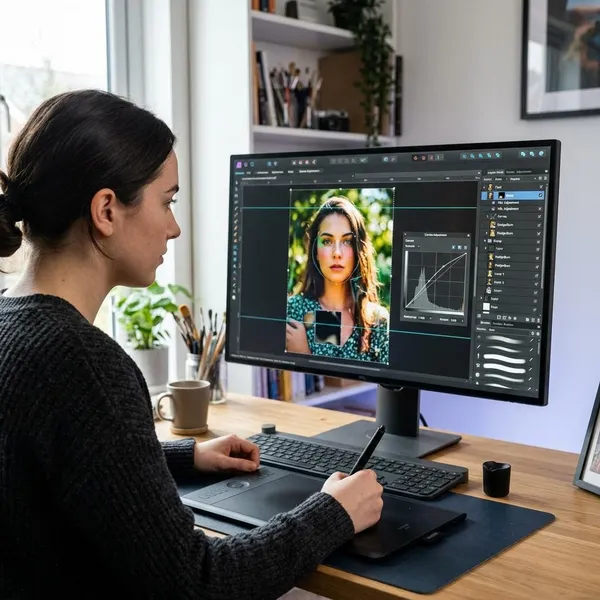
Portrait editing works well in Affinity because you can separate small fixes from broader color and contrast changes. Blemishes, flyaway hairs, under-eye shadows, and background distractions can be handled locally instead of applying a heavy effect to the whole face.
Landscapes and RAW photos
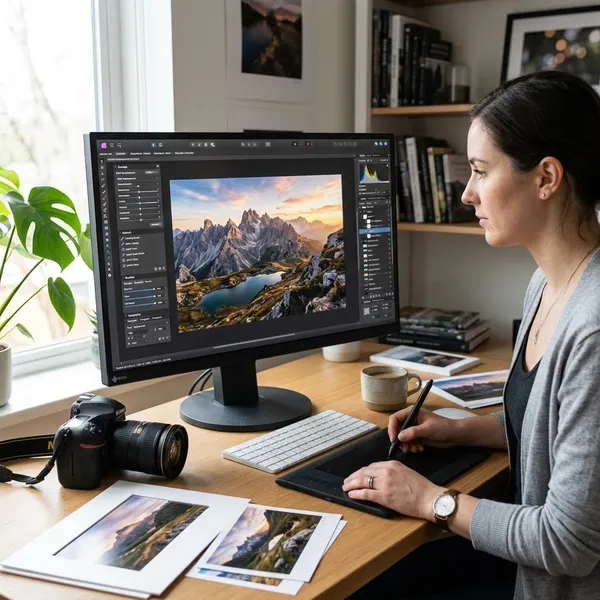
Landscapes benefit from RAW recovery, lens correction, gradients, masks, and selective contrast. A bright sky and a dark foreground often need different edits, which is where Affinity's layer-based workflow helps.
Product photos and cutouts
Product photos are a strong use case because small details matter. You can clean dust, correct color, remove background distractions, sharpen labels, and create cutouts for listings or catalogs.
| Product photo problem | Best Affinity check |
|---|---|
| Background looks uneven | Use masks or selection tools instead of over-brightening the whole image. |
| Edges look rough after cutout | Refine the selection before export and check against a dark and light background. |
| Colors look different from the real item | Fix white balance before adding contrast or saturation. |
Photo composites and digital art
Composites, posters, surreal edits, and digital artwork depend on layers, masks, blend modes, transforms, brushes, and selections. Affinity gives you enough control to combine images without flattening everything too early.
HDR and stacked images
HDR and stacked images are for situations where a single frame has a clear technical limit. Use HDR for extreme brightness differences, and use focus stacking when depth of field is too shallow to keep the whole subject sharp.
Affinity photo editor strengths
The main strength of Affinity is not that it makes editing effortless. Its real value is that it gives serious tools to people who want control without committing to a Photoshop-centered workflow.
Professional tools at no cost
Affinity is now positioned as a free professional editing option under Canva, though pricing and account requirements are always worth checking on the official download page before you install. The practical advantage is clear: you can try a serious editor without starting a monthly software bill.
This matters most for occasional editors, students, hobby photographers, and small sellers. If your editing needs come in bursts, paying every month for software you only use heavily a few times a year can feel wasteful.
Flexible non-destructive editing
Non-destructive editing is one of the biggest reasons to choose Affinity over simpler tools. Live filters, masks, adjustment layers, and editable project files let you change your mind without rebuilding the whole edit.
Strong layer-based control
Layer control makes Affinity useful for both careful correction and creative work. You can keep cleanup, color, effects, text, and composites separate, which makes complex files easier to revise.
- For portraits: keep skin cleanup separate from color grading.
- For products: edit the object without damaging the background or shadow.
- For composites: adjust each source image until the lighting and color match.
Fast performance on large files
Affinity is generally known for responsive editing, especially compared with heavier workflows, but performance still depends on your computer, file size, and layer count. Large RAW files, panoramas, and multi-layer composites will always ask more from your hardware.
If you regularly work with high-resolution camera files, the useful test is simple: open one of your real projects, add several layers and masks, then see whether brush strokes, zooming, and exports still feel smooth.
Photo, vector, and layout tools in one app
Affinity's broader setup is useful when photo editing overlaps with design. Text, shapes, graphic elements, and layout-style work can sit close to the image editing process, which helps when you are making posters, thumbnails, product promos, or social visuals.
Conclusion
Affinity is a smart choice if you want serious photo editing tools and are willing to learn layers, masks, RAW development, and export choices properly. It is less compelling if you mainly need automatic photo organization or one-tap edits, but for portraits, products, landscapes, composites, and detailed image cleanup, it gives you a lot of control without making a subscription the first decision.