How Can Beginners Start Using Git?
A good git software tutorial should get you using Git, not just memorizing commands. Start with three ideas: Git tracks changes, commits save meaningful snapshots, and branches let you try work without risking your main version. If you learn that flow first, the commands become much easier to remember.
How to install and set up Git
Before creating a repository, make sure Git is installed and that your commits use the right name and email. This setup only takes a few minutes, but skipping it can leave your project history with missing or wrong author details.
Install Git on your computer
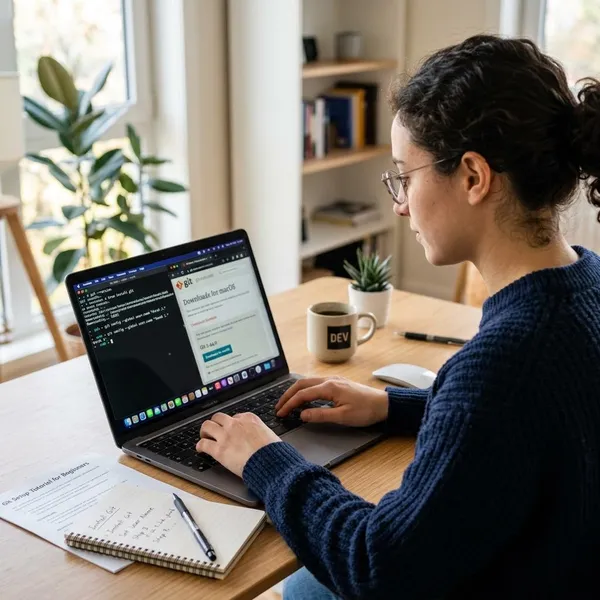
Download Git from the official Git website, or install it through your operating system's package manager if you already use one. On Windows, the standard installer is usually the simplest choice. On macOS, many beginners use the Xcode Command Line Tools or Homebrew. On Linux, Git is often available through commands such as apt install git, dnf install git, or your distribution's normal package tool.
Check your Git version
Open Terminal, Command Prompt, or PowerShell and run:
git --version
If Git is installed correctly, you should see a version number. If the command is not recognized, fix the installation or system path before moving on. That small check saves a lot of confusion later, especially when a beginner thinks a repository is broken when Git itself is not available.
Set your user name
Set the name that should appear on your commits with:
git config --global user.name "Your Name"
Use the name you want future you, classmates, coworkers, or GitHub visitors to recognize. For a small private project, this may not feel important, but once you share a repository, clear author information makes the history easier to understand.
Set your email address
Set your commit email with:
git config --global user.email "you@example.com"
If you plan to push work to GitHub, use an email connected to your GitHub account or a GitHub no-reply email if you prefer more privacy. Beginners often notice this only after several commits, so it is worth checking before your first real project.

How to start a Git repository
There are two normal ways to start: use git init when you are creating your own project, or use git clone when the project already exists somewhere else. That choice matters because it decides whether you are starting fresh or copying an existing history.
Create a repository with git init
Use git init inside a project folder to turn that folder into a Git repository. For a simple practice project, this is the cleanest starting point:
- Create a folder such as
my-first-git-project. - Open your terminal inside that folder.
- Run
git init. - Add a file such as
README.md. - Run
git statusto see what Git notices.
Git creates a hidden .git folder that stores the repository data. Do not edit that folder manually. If you are learning alone, using git init on a tiny notes or website folder is safer than practicing on an important project.
Clone a repository with git clone
Use git clone when a repository already exists on GitHub, GitLab, Bitbucket, or another remote service:
git clone https://github.com/user/project.git
Cloning copies the files and the commit history. This is the better option if a teacher, teammate, or open-source project gives you a repository link. Do not run git init inside a cloned project; it is already a Git repository.
Check your files with git status
git status is the command to run when you are unsure what Git sees. It shows untracked files, modified files, and staged changes.
- Untracked: Git sees the file but is not tracking it yet.
- Modified: a tracked file has changed since the last commit.
- Staged: the change is ready for the next commit.
A useful habit is to run git status before adding files, before committing, and before switching branches. It is the fastest way to catch accidental edits or files that should not be committed.
Ignore unwanted files with .gitignore
A .gitignore file tells Git which files or folders to leave out of version history. Add it early if your project creates temporary files, local settings, logs, or dependency folders.
node_modules/for installed JavaScript packages..envfor local secrets or environment values.*.logfor generated log files..DS_Storefor macOS folder metadata.
How to save changes with Git
Saving work in Git has three parts: edit files, stage the changes you want, and commit them with a message. Your text editor saves the file, but Git saves a selected snapshot of the project history.
Edit files in your working directory
The working directory is the project folder you are actively editing. You might update a README, change code, delete an unused file, or test a new idea there.
Git does not record every keystroke. That is a good thing: you can experiment first, then decide which changes deserve to become part of the official history.
Stage changes with git add
Use git add to choose what goes into the next commit. For beginners, git add filename is often safer than git add . because it forces you to notice exactly what you are including.
| Situation | Better choice |
|---|---|
| You changed one file on purpose | git add filename |
| You changed several related files | Stage them one by one, then check git status |
| You are cleaning up many planned changes | git add ., but only after reviewing the file list |
Save changes with git commit
Create a commit with:
git commit -m "Describe the change"
A commit should represent one logical update, such as Fix typo in README, Add contact form markup, or Update installation notes. Avoid vague messages like changes or stuff; they are almost useless when you look back later.
Review commits with git log
Use git log to view the commit history. For a cleaner beginner view, try:
git log --oneline
Run it after committing to confirm your snapshot was saved. If your project grows, the log becomes your timeline for checking when a feature was added, when a bug may have appeared, or which commit you want to inspect again.

How to use Git branches
Branches let you work on changes without touching the main version of your project. They are useful for features, fixes, experiments, and anything that might take more than one quick edit.
Create a new branch
Create and switch to a new branch in one step with:
git switch -c new-branch-name
Older tutorials may use git checkout -b new-branch-name, which is still common. Choose a branch name that describes the task, such as fix-navbar or add-login-page. A branch called test feels harmless today but becomes annoying when you have five old branches later.
Switch between branches
Move to another branch with:
git switch branch-name
Check git status before switching. If you have unfinished changes, Git may stop the switch or carry changes into the other branch in a way that surprises you. For a quick typo fix, committing on main may be fine; for a longer feature or risky experiment, switch to a branch first.
Commit changes on your branch
Once you are on a branch, the edit-stage-commit flow stays the same. The difference is that your commits remain on that branch until you merge them.
This is especially helpful when you are trying something uncertain, such as redesigning a page or refactoring code. If the idea works, merge it. If it does not, your main branch has not been disturbed.
Merge changes into the main branch
To merge a finished branch, switch back to the main branch and run:
git merge your-branch-name
Many simple merges happen automatically. If Git reports a conflict, open the affected file, choose the correct content, save it, stage it, and commit the resolution. Conflicts are easier to handle when your commits are small and your branch has a clear purpose.
How to connect Git to GitHub
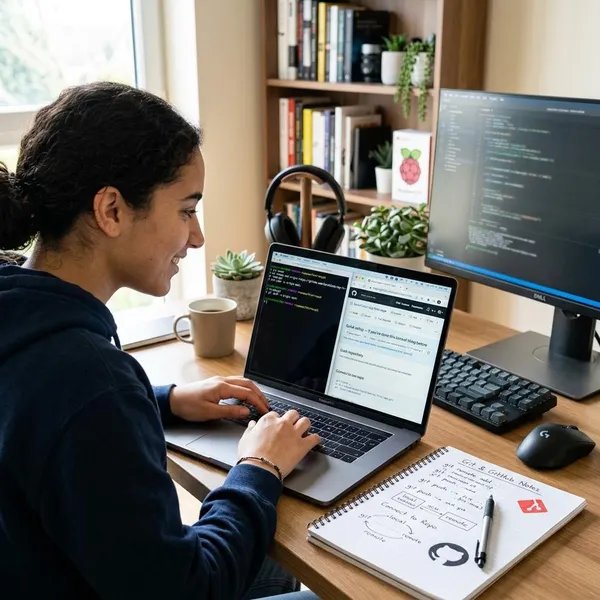
Git works locally without GitHub, but GitHub is useful when you want an online copy, collaboration, or a way to move work between computers. The main commands here are remote, push, pull, and fetch.
Add a remote repository
A remote is the link between your local repository and an online repository. Add one with:
git remote add origin https://github.com/username/repo.git
Then confirm the link with:
git remote -v
Check this before your first push. Sending commits to the wrong remote is avoidable if you verify the URL early.
Push your commits to GitHub
Send your local commits to GitHub with:
git push -u origin main
After the upstream branch is set, git push is often enough. If you work on two computers, pushing at the end of a session is a practical habit because the other machine can pull the latest work later. If you work with a team, pushing also makes your branch available for review or a pull request.
Pull changes from GitHub
Use git pull to download remote changes and merge them into your current branch. This is useful when someone else updated the project, or when you pushed work from another device.
Pull before starting shared work if the repository may have changed. That simple habit lowers the chance of conflicts and failed pushes. If you are the only person working on a local-only test project, pulling may not matter yet.
Fetch remote changes without merging
git fetch downloads remote updates but does not merge them into your current branch. git pull is basically fetch plus merge.
Use fetch when you want to inspect remote changes before affecting your files. Use pull when you are comfortable bringing the remote changes directly into your branch. That distinction is one of the most useful early GitHub habits to learn.
Conclusion
The fastest way to make Git feel normal is to practice the same small loop: check status, stage only what belongs together, commit with a clear message, and use a branch when the work is bigger or riskier than a quick edit. Once that feels comfortable, GitHub syncing becomes just another step instead of a separate mystery.
FAQS
Is Git difficult for beginners?
status, add, commit, branch, switch, push, and pull.Do you need GitHub to use Git?
What is the difference between git pull and git fetch?
git fetch downloads remote information without changing your current branch. git pull downloads and merges the remote changes, so it is faster but gives you less time to review first.