Could BeFunky Meet Your Photo Editing Needs?
BeFunky Photo Editor is a good fit if you want quick, browser-based edits without learning Photoshop-style controls. It works best for cropping, light correction, simple retouching, background cleanup, and social or small-business visuals; it is less ideal if you need detailed layer work, advanced masking, or full manual control.
What can you do with BeFunky Photo Editor?
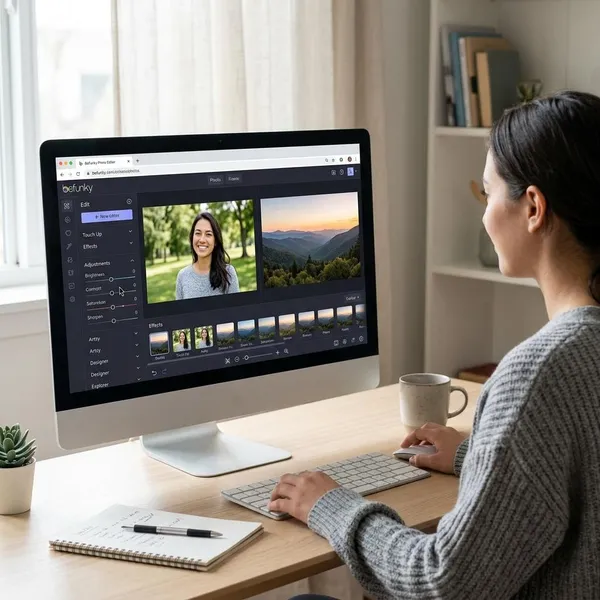
BeFunky sits in a useful middle ground: it is more capable than a basic phone editor, but still simple enough for casual users. If your usual problem is "this photo is almost right, but it needs cleanup," the main tools are easy to reach.
Crop, resize, and adjust colors
Crop and resize are the safest places to start. A tighter crop can remove clutter from a family photo, make a product image look cleaner, or prepare a square version for a profile picture before you spend time on other edits.
- Crop first: remove distracting edges before retouching anything.
- Resize for the final use: smaller files for web uploads, larger files when quality matters.
- Adjust light before filters: brightness, contrast, shadows, and warmth usually improve a photo more naturally than a heavy preset.
Retouch portraits
Portrait retouching is useful for small fixes: softening a blemish, brightening a face, or making a profile photo look a little more polished. Keep it light. Over-smoothed skin and overly white teeth are usually more distracting than the original imperfection.
For a casual selfie or family picture, a subtle touch-up is enough. For a professional headshot, check the result on a larger screen before saving because small mobile previews can hide unnatural retouching.
Apply filters and artistic effects
Filters are best when they support the purpose of the image. A soft warm effect can help a greeting card or personal post, while a clean product photo usually looks better with minimal styling.
If you like experimenting, duplicate the image or save a separate version before applying bold artistic effects. That gives you a safe fallback if the edited version starts to look too processed.
Remove backgrounds and unwanted objects
Background removal can save a lot of time when the subject has a clear outline, such as a product on a plain surface or a portrait against a simple wall. It is less predictable with hair, shadows, glass, or busy backgrounds, so always inspect the edges before using the image publicly.
Object removal is most helpful for small distractions: a mark on the wall, a stray cable, or an unwanted item on a table. If the object covers a complex pattern or an important part of the subject, the result may need extra cleanup or may not be worth using.
Add text and graphics
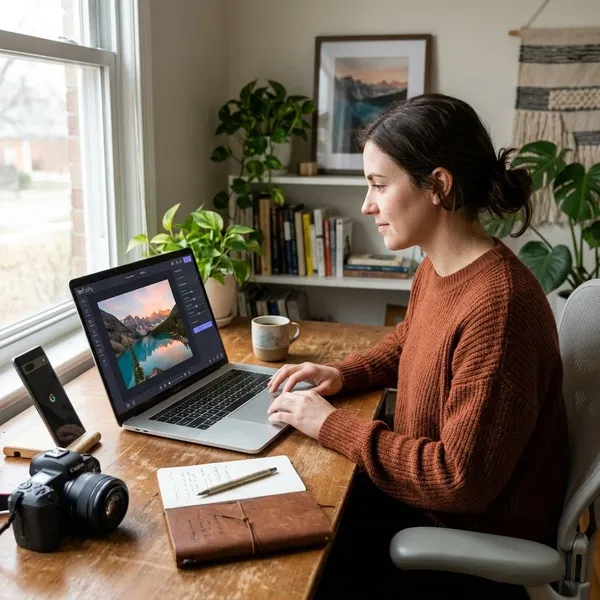
Text and graphics make BeFunky useful for quick visual projects, not just photo cleanup. Think birthday invitations, simple sale posts, quote images, thumbnails, or a small announcement graphic.
Is BeFunky Photo Editor free?
BeFunky has free tools, but the free version is not the same as the full editor. It is enough for testing the workflow and doing light edits, while the paid tiers matter more if you need premium effects, stronger AI tools, higher-quality outputs, or batch work.
Free tools and their limits
The free version is most useful for basic editing: crop, resize, simple exposure changes, color correction, and some effects. If your edits are occasional and low-pressure, that may be all you need.
The limit usually appears when you want a specific premium result, such as cleaner background removal, advanced retouching, premium effects, or better export options. Before upgrading, run one real project from upload to export and see where you actually get blocked.
Plus for premium editing tools
Plus makes sense when premium tools improve the finished image, not just when the feature list looks attractive. It is most relevant for users who regularly make social posts, invitations, polished portraits, blog images, or small business graphics.
| When Plus may be worth it | When free may still be enough |
|---|---|
| You often need background cleanup or stronger retouching. | You mostly crop, resize, and make light color fixes. |
| You want cleaner exports for important images. | You post casual images where perfect output quality is not critical. |
| You want to finish photo editing and light design in one place. | You only edit a few images now and then. |
Pro for batch AI editing
Pro is mainly about volume. If you edit one photo at a time, it may feel unnecessary. If you regularly process sets of images with similar changes, batch AI editing can save real time.
How to edit a photo in BeFunky
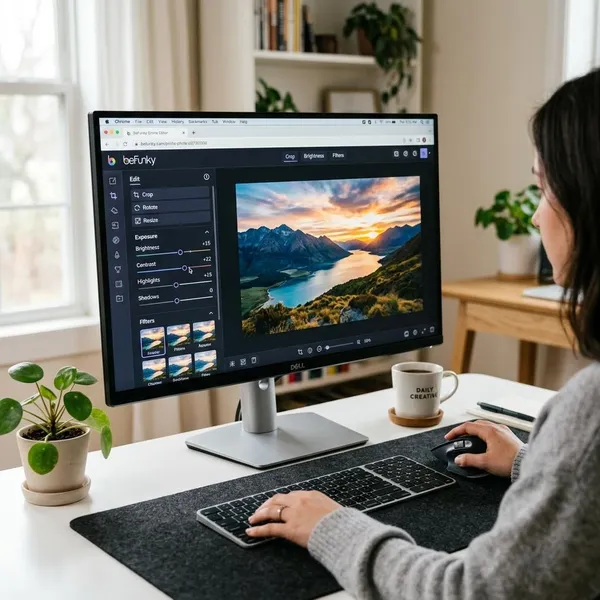
The easiest workflow is to fix the structure first, improve the light and color, then add optional effects or touch-ups. That order prevents overediting and keeps you focused on the final use of the image.
Open the Photo Editor and upload your image
Start with the best original file you have, especially if you plan to crop or print the result. A small, blurry, or heavily compressed image gives any editor less detail to work with.
Once the image opens, check whether the tools you need are available in your current plan. That quick check is better than spending ten minutes editing and discovering at export that an important feature is locked.
Crop and adjust light and color
Crop out distractions, straighten tilted lines, and set the image size for where it will be used. Then adjust light and color gently. A slightly dark indoor portrait may need a small exposure lift and a touch more contrast, not a dramatic filter.
Apply effects or touch-ups
Use effects for style and touch-ups for specific problems. For example, a travel photo might benefit from a warmer tone, while a portrait may only need a small blemish correction.
Try not to stack too many changes at once. If the photo starts looking less believable, turn down the strongest effect first rather than adding another adjustment to compensate.
Compare the result with your original
Before exporting, switch back to the original or use the comparison view if available. Your eyes adjust while editing, so heavy saturation, sharpness, or skin smoothing can start to look normal after a few minutes.
- Better: the subject is clearer and the photo still looks natural.
- Too much: skin looks plastic, colors look unrealistic, or edges around cutouts look rough.
- Worth redoing: the edit changed the mood but did not solve the original problem.
Save in your preferred format
JPEG is usually the practical choice for regular photos because it keeps file sizes manageable. PNG is better when you need transparency, such as a cutout image, or when the file includes text and sharp graphic edges.
Before saving, rename the file clearly. A name like "blue-mug-product-photo-white-background" is easier to find later than a default camera filename, especially if you create several versions.
What to check before paying for BeFunky
Do not upgrade just because a tool sounds advanced. Upgrade only if the paid features solve a problem you meet often: cleaner cutouts, better retouching, higher-quality exports, or faster editing across many files.
Whether free tools cover your edits
If you mainly crop phone photos, brighten images, resize files, or make quick personal graphics, start with the free version and stay there until you hit a real limit. Free is not "bad" if it matches your routine.
Watch for repeated friction. One locked feature on a single project may not justify paying; running into the same limit every week is a stronger signal.
Whether premium tools improve your results
Premium tools are worth it when the difference is visible in the final image. A small seller may get more value from background removal than from artistic effects. Someone making family photo books may care more about retouching and export quality.
- Pay attention to edges: check hair, shadows, and product outlines after background removal.
- Check export quality: open the saved file, not just the preview inside the editor.
- Compare time saved: a tool that saves 30 seconds once is minor; a tool that saves time on every image matters.
Whether batch editing saves you time
Batch editing is only valuable if you repeatedly edit groups of images. It can be useful for online listings, event photos, marketing assets, or any workflow where the same resize, cleanup, or export settings apply to many files.
If your editing is usually one-off and creative, batch tools may not help much. In that case, a lower plan or the free version may be the more sensible choice.
Conclusion
BeFunky is easiest to recommend for people who want fast, practical photo improvements without a complicated workspace. Try the free tools on the images you actually edit, then only pay if premium features clearly improve your results or save time; for occasional edits, free may be enough, while Plus and Pro make more sense for polished output or repeated image work.