How Can Advanced IP Scanner Help Manage Your Network?
Advanced IP Scanner software is best for a quick Windows-based look at what is active on your local network: computers, printers, routers, shared folders, and some remote access services. It is useful when you need a practical device list, not when you need deep security testing or a full cross-platform network audit.

What can Advanced IP Scanner do?
Advanced IP Scanner is mainly a LAN discovery tool. Its strongest use is simple visibility: you run a scan, see which devices respond, and get enough details to decide what each device probably is.
Find devices on a local network
The software scans a selected IP range and lists devices that respond on the local LAN. For a typical home setup, that can mean your laptop, desktop PC, printer, router, smart TV, NAS, or other connected equipment.
Show IP and MAC addresses
IP addresses tell you where a device is right now; MAC addresses help confirm which physical network interface you are looking at. That distinction matters because home routers often assign IP addresses dynamically, so a device can move from one address to another after a restart.
- Use the IP address when you need to open a device page or connect right away.
- Use the MAC address when you want to confirm the device is the same one you saw before.
- Compare both when a hostname is vague or missing.
Open shared folders and web services
If a detected device exposes shared folders or a web interface, Advanced IP Scanner can give you a shortcut to open them. This is handy for a family PC with a shared folder, a NAS box, a router admin page, or a printer settings page.
Connect through RDP or Radmin
Advanced IP Scanner can help start an RDP or Radmin connection when the target computer supports it and you have permission. The scanner does not bypass passwords, firewall rules, or Windows account restrictions; it simply makes the connection step faster once the service is available.
Wake up or shut down remote computers
Wake-on-LAN and remote shutdown can work, but they depend on the target computer being configured correctly. Wake-on-LAN may require BIOS or UEFI support, compatible network settings, and a device that is not fully unreachable from the network.
Export scan results to a file
Exporting is worth doing when you want a simple before-and-after record of your network. It helps if a printer changes address, a device disappears, or you want to compare today's scan with a later one.
How do you scan a network with Advanced IP Scanner?
The scan process is simple, but accuracy depends on choosing the right range and reading the results carefully. The most common mistake is scanning the wrong subnet and then assuming devices are offline.
- Download from the official site. Avoid random download portals for network utilities.
- Install or use portable mode. Install for regular use; portable mode is fine for one-time troubleshooting.
- Check the IP range. Make sure it matches your current local network.
- Start the scan. Give slower Wi-Fi devices a little time to respond.
- Review several columns. Do not rely only on the hostname.
- Save or export useful results. This makes future troubleshooting easier.
Download the software from the official website
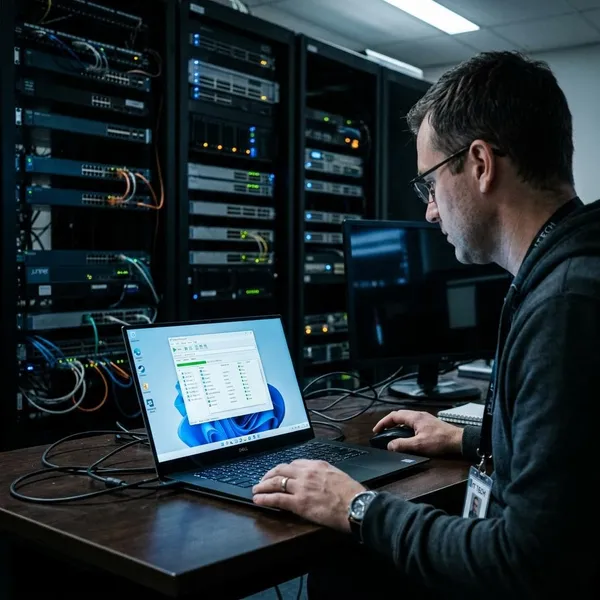
Download it from the publisher's official website so you are less likely to get an outdated installer, a modified copy, or bundled extras. This matters more with network tools than with many everyday apps because they interact directly with your local devices.
Install it or run the portable version
Use the installed version if you plan to scan from the same Windows computer regularly. Choose the portable version if you only need a quick check, want to troubleshoot from another PC, or prefer not to make a full installation.
Select the local IP range
The selected range should match your current LAN, such as a private home range beginning with 192.168.x.x or 10.x.x.x. If you are unsure, compare the suggested range with your Windows PC's own local IP address; the first parts should usually line up with the network you want to scan.
Start the network scan
Once the range looks right, start the scan and watch the results fill in. If a known device is missing, wake it, reconnect it to Wi-Fi, or run a second scan before treating the result as final.
Review the detected devices
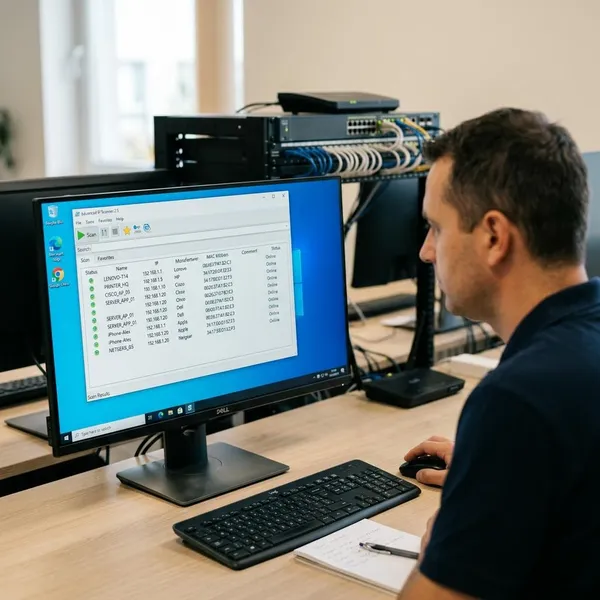
The useful work begins after the scan finishes. Look across the row instead of trusting one field: IP address, hostname, MAC address, vendor clue, shared resources, and remote access indicators all help build a more reliable picture.
| What you see | What it helps you decide |
|---|---|
| Changing IP address | The device may use DHCP and should not be identified by IP alone. |
| Generic hostname | Check MAC/vendor details before assuming what it is. |
| Visible shared folder | The device is offering file access and may need a permissions check. |
| RDP or Radmin indicator | Remote access may be available, but credentials are still required. |
Save useful devices or export the results
Save entries you expect to use again, such as a printer, NAS, router, or remote desktop PC. Export the results if you are troubleshooting something that changes over time, because a dated file gives you a reference point instead of relying on memory.
How do you read Advanced IP Scanner results?
Read the results as clues, not as a perfect device inventory. A clean-looking table can still contain vague names, temporary IP addresses, sleeping devices, or services that are visible but not usable without the right permissions.
Use IP addresses to locate devices
An IP address is the current route to a device. If you need to open a printer web panel, connect to a NAS, or test whether a router page responds, the IP address is usually the fastest starting point.
Use hostnames to identify computers
Hostnames are often the most readable clue, especially when a PC has a name like "Office-PC" or "Kitchen-Laptop." They are less helpful when devices use generic names such as "android," "unknown," or a manufacturer default.
Use MAC addresses to confirm hardware
A MAC address is useful when you need stronger confirmation than a name or IP address can provide. Compare it with the address shown in your router, on the device label, or inside the device's network settings.
Check available shared resources
Shared resources show that a device is offering something to the local network, such as folders or file access. That can be useful when you are trying to reach a shared family computer, but it is also a reason to review permissions on machines that should not be sharing anything.
Review detected remote access services
Remote access indicators are worth checking if you manage other Windows computers on the same LAN. Seeing RDP or Radmin tells you a service may be present, but it does not guarantee access; credentials, firewall rules, and user permissions still decide whether the connection works.

Conclusion
Advanced IP Scanner is a sensible choice when you need a fast Windows tool for local device discovery, basic identification, and quick access to shares or remote services. Use it for everyday LAN visibility and light troubleshooting; choose a more advanced tool if you need detailed port scanning, security testing, Linux or Mac support, or enterprise-level inventory.